

Quantity Editor With Increment & Decrement Buttons In Lightning Web Components (LWC)
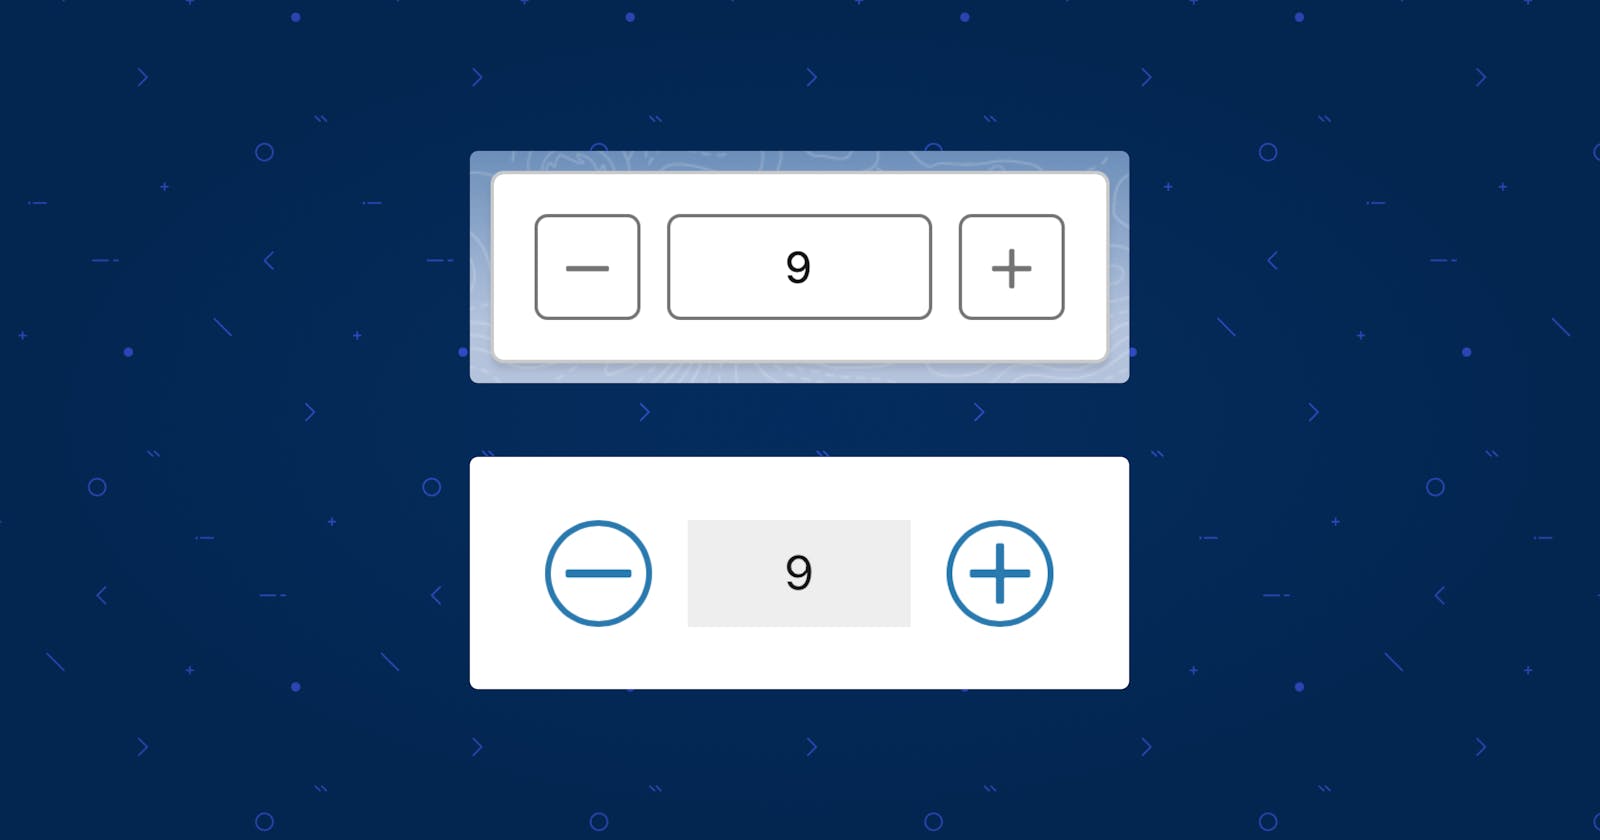
2 Styles - Lightning Experience & Field Service Mobile


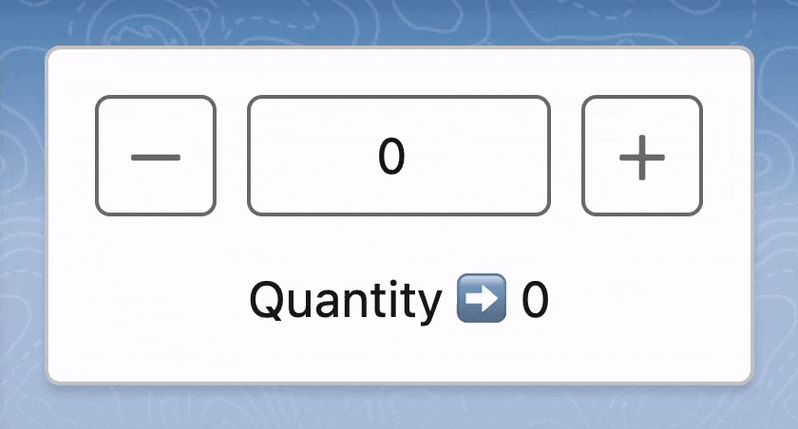
🔮 Demo
📜 Code
1️⃣ Style #1 - Lightning Experience
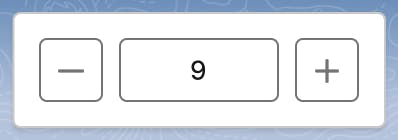
quantityEditorLEX.html
<template>
    <lightning-card variant="Narrow" hide-header="true">
        <div class="slds-card__body slds-card__body_inner">

            <!-- Grid layout with alignment to the right -->
            <div class="slds-grid slds-grid_align-end">

                <!-- Column with button icon for decrease action -->
                <div class="slds-col slds-m-right_small">
                    <lightning-button-icon
                        data-action="decrease"
                        icon-name="utility:dash"
                        alternative-text="Remove"
                        title="Remove"
                        onclick={changeQuantity}>
                    </lightning-button-icon>
                </div>

                <!-- Column with number input for quantity -->
                <div class="slds-col slds-m-right_small">
                    <div class="slds-form-element">
                        <div class="slds-form-element__control">
                            <input class="slds-input inputStyling"
                                type="number"
                                data-action="update"
                                variant="label-hidden"
                                value={quantity}
                                onkeyup={changeQuantity}>
                            </input>
                        </div>
                    </div>
                </div>

                <!-- Column with button icon for increase action -->
                <div class="slds-col">
                    <lightning-button-icon
                        data-action="increase"
                        icon-name="utility:add"
                        alternative-text="Add"
                        title="Add"
                        onclick={changeQuantity}>
                    </lightning-button-icon>
                </div>
            </div>

        </div>
    </lightning-card>
</template>
quantityEditorLEX.css
.inputStyling{
    width: 5rem;
    text-align: center;
}

input[type=number]::-webkit-inner-spin-button,
input[type=number]::-webkit-outer-spin-button {
    -webkit-appearance: none;
    -moz-appearance: none;
    appearance: none;
    margin: 0;
}
quantityEditorLEX.js
import { LightningElement } from 'lwc';
export default class quantityEditorLEX extends LightningElement {
    // Initializing quantity variable to 0.
    quantity = 0;

    // Method to handle quantity changes based on the event triggered.
    changeQuantity(event) {

        // Getting the action that needs to be performed from the dataset of the current target of the event.
        let action = event.currentTarget.dataset.action;

        // Checking the action type and performing appropriate actions.
        if (action == 'decrease') {
            // Decreasing the quantity if it's greater than 0.
            let currentQty = this.quantity;
            if (currentQty > 0) {
                this.quantity--;
            }
        } else if (action == 'update') {
            // Updating the quantity with the value entered in the input field.
            this.quantity = event.target.value;
        } else if (action == 'increase') {
            // Increasing the quantity.
            this.quantity++;
        }
    }
}
2️⃣ Style #2 - SFS Field Service Mobile

quantityEditorSFS.html
<template>
    <lightning-card variant="Narrow" hide-header="true">
        <div class="slds-card__body slds-card__body_inner">

            <!-- Grid layout with alignment to the right -->
            <div class="slds-grid slds-grid_align-end quantityEditor">

                <!-- Column with button icon for decrease action -->
                <div class="slds-col slds-m-right_small">
                    <lightning-icon
                        data-action="decrease"
                        size="small"
                        icon-name="utility:dash"
                        alternative-text="Remove"
                        title="Remove"
                        onclick={changeQuantity}>
                    </lightning-icon>
                </div>

                <!-- Column with number input for quantity -->
                <div class="slds-col slds-m-right_small">
                    <input
                        type="number"
                        data-action="update"
                        value={quantity}
                        onchange={changeQuantity}>
                    </input>
                </div>

                <!-- Column with button icon for increase action -->
                <div class="slds-col">
                    <lightning-icon
                        data-action="increase"
                        size="small"
                        icon-name="utility:add"
                        alternative-text="Add"
                        title="Add"
                        onclick={changeQuantity}>
                    </lightning-icon>
                </div>
            </div>
        </div>
    </lightning-card>
</template>
quantityEditorSFS.css
.quantityEditor lightning-icon{
    --slds-c-icon-radius-border: 50%;
    --slds-c-icon-color-foreground-default: #2A7AAF;
    padding: 0.25rem;
    border: 2px solid #2A7AAF;
}

.quantityEditor input{
    height: 36px !important;
    border-radius: 0 !important;
    border: none;
    background: #EEEEEE;
    width: 75px;
    text-align: center;
    border-bottom: 2px solid transparent;
}

.quantityEditor input:focus{
    outline: none;
    border-bottom-color: #2A7AAF;
}

input[type=number]::-webkit-inner-spin-button,
input[type=number]::-webkit-outer-spin-button {
    -webkit-appearance: none;
    -moz-appearance: none;
    appearance: none;
    margin: 0;
}
quantityEditorSFS.js
The JavaScript logic for this SFS variant is the same as mentioned for the Lightning Experience variant above.
🤔
Why did we use HTML Input instead of lightning-input base component? Though there are styling hooks for the base component, the existing ones didn't support the type of styling we needed. For example: sizing, text alignment
🧩 Components Used
SLDS Grid - https://www.lightningdesignsystem.com/utilities/grid/
- Grid Items Right Alignment - https://www.lightningdesignsystem.com/utilities/grid/#Content-right-justified
SLDS Input - Type Number - https://www.lightningdesignsystem.com/components/input/
Lightning Button Icon - https://developer.salesforce.com/docs/component-library/bundle/lightning-button-icon/example
Lightning Icon - https://developer.salesforce.com/docs/component-library/bundle/lightning-icon/example