How To Modify LWC Base Component Attributes With JavaScript DOM
Easy as 1, 2, 3. Get the element, refer to the attribute & set it!
Table of contents

📖 Basics First
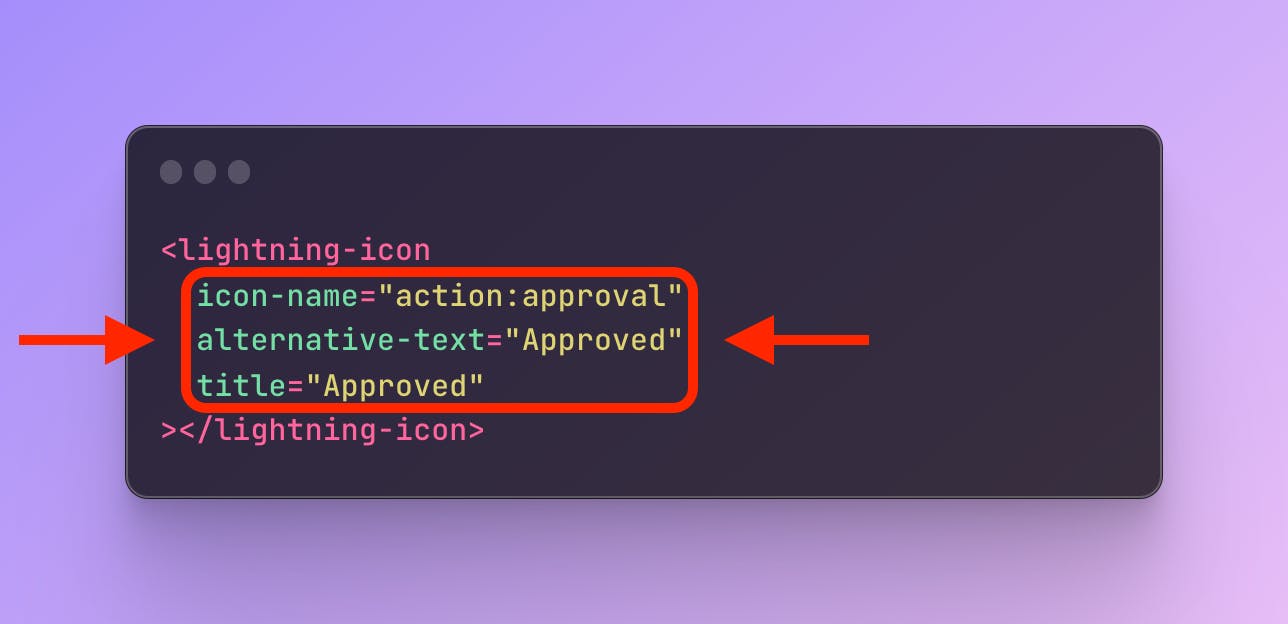
What are attributes?

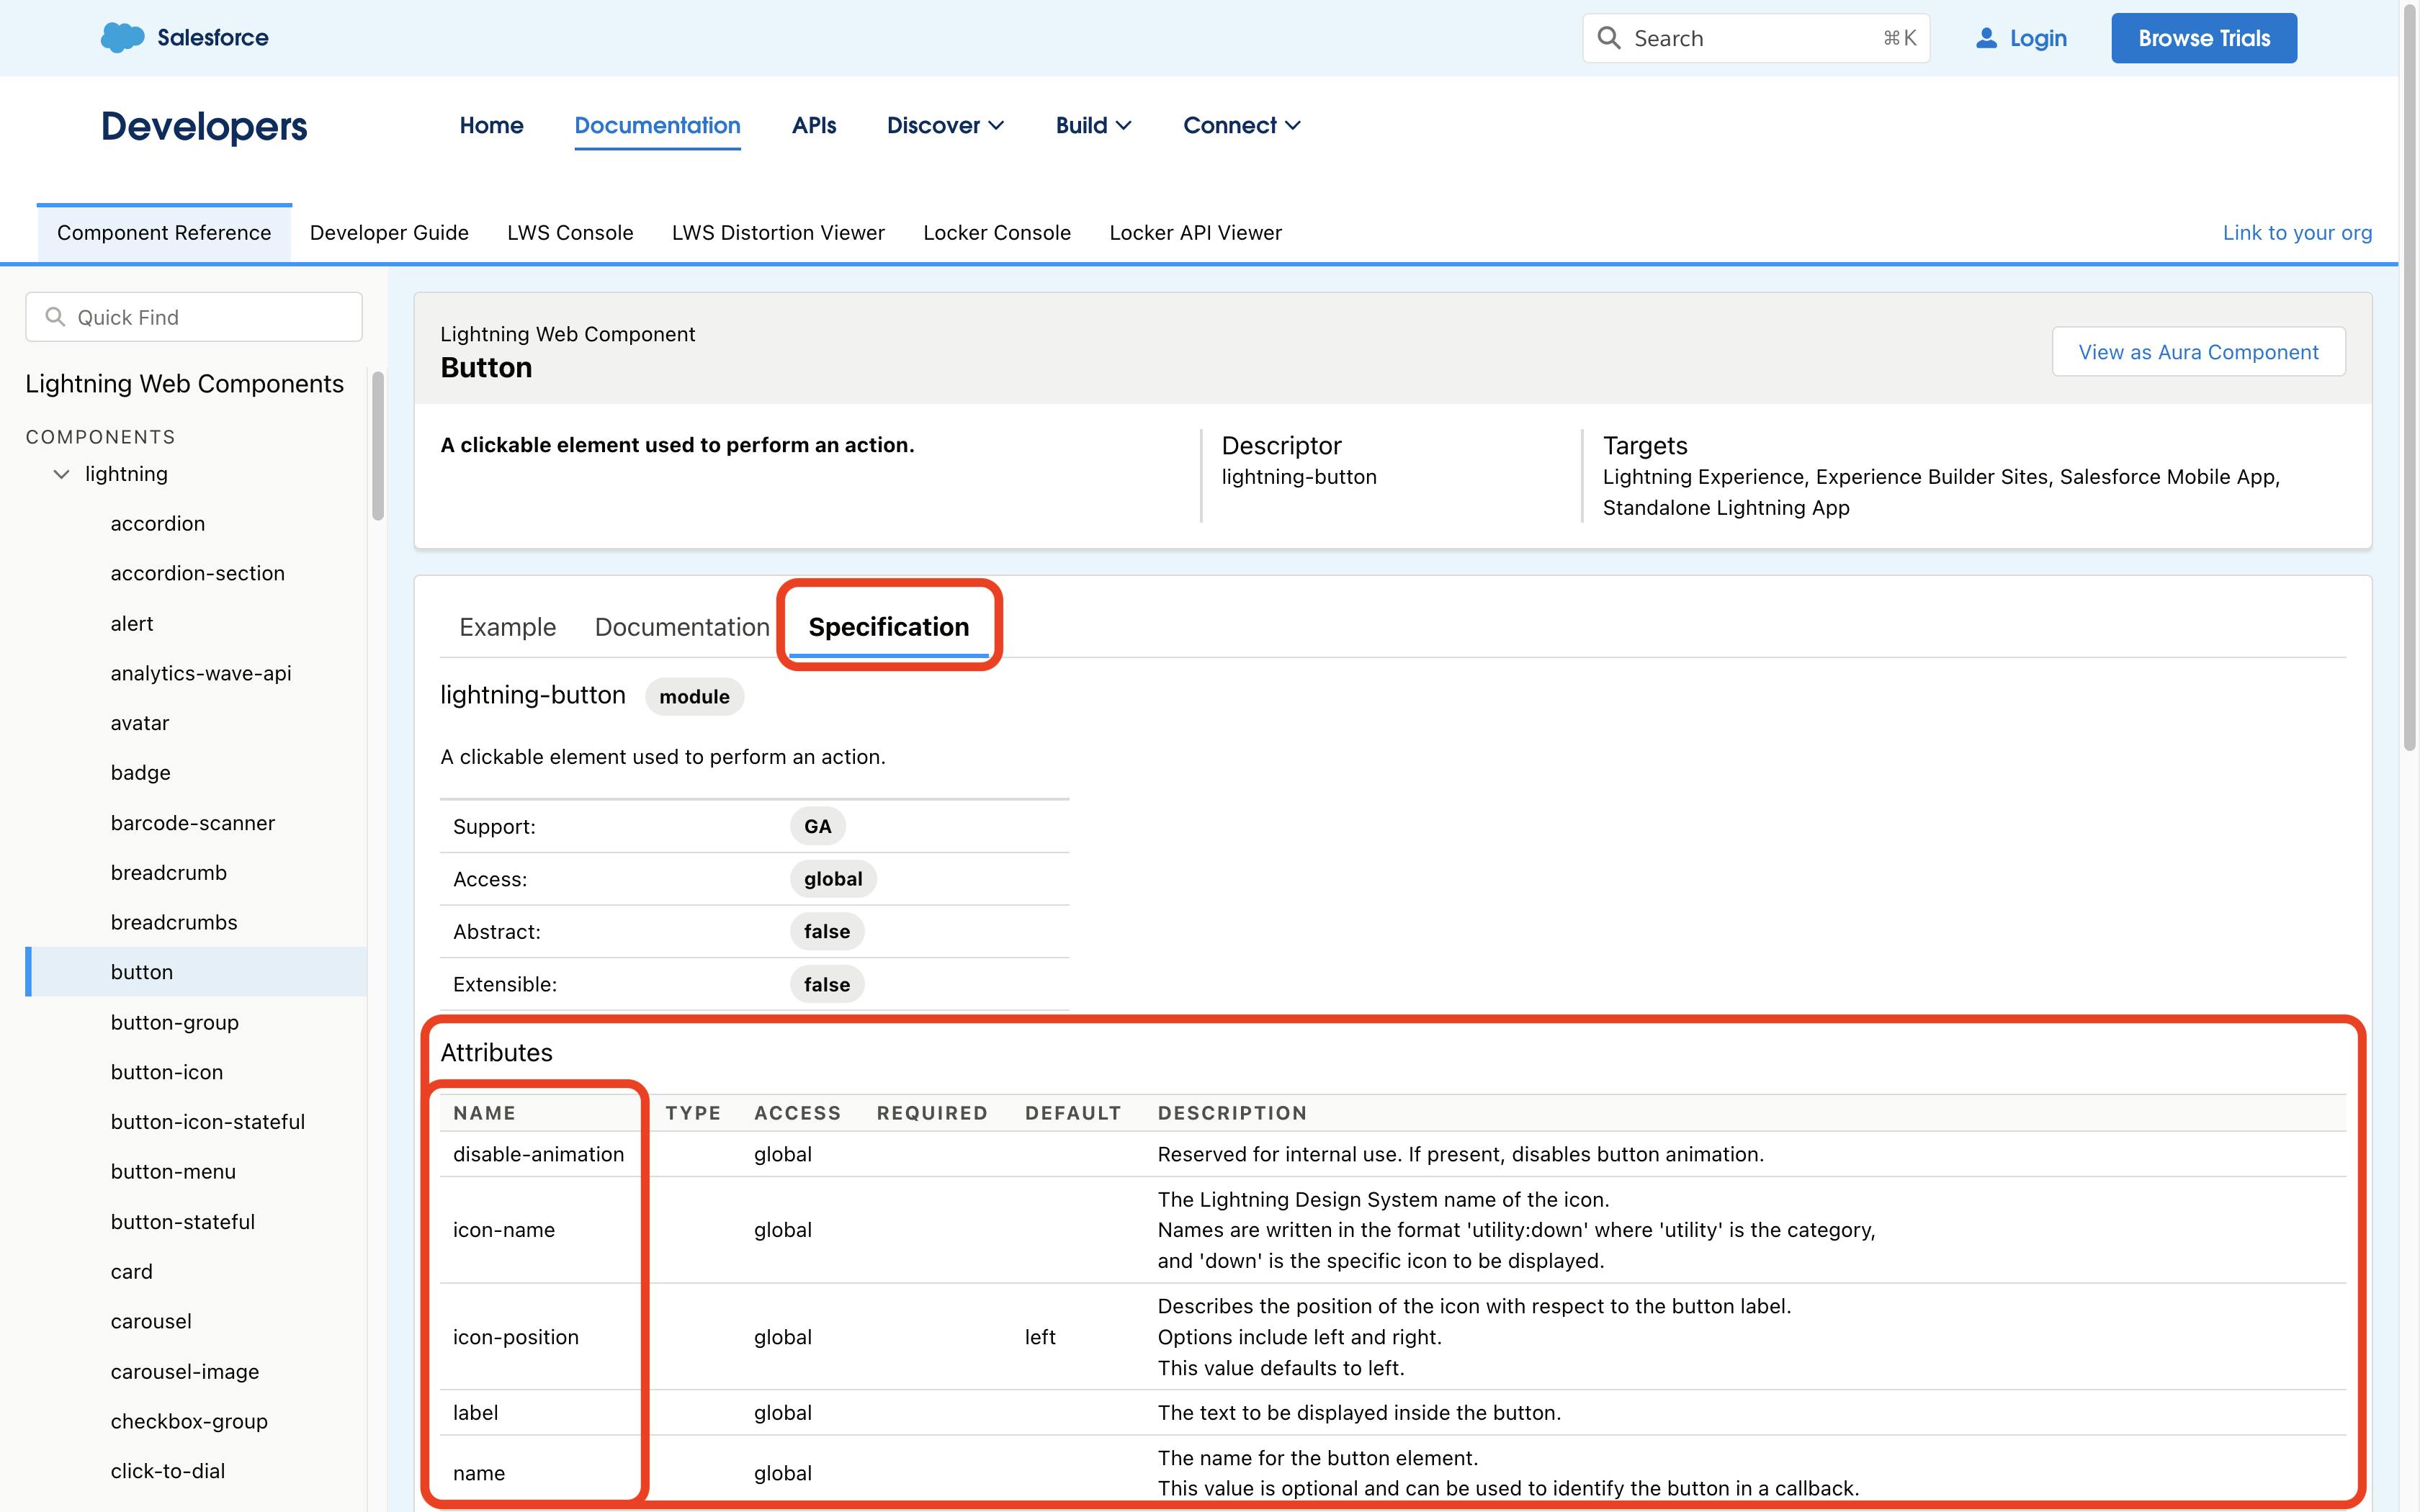
Where to find what attributes a base component has?
Go to the Component Reference/Library
Choose any component on the left sidebar
Click on the Specification tab on the right side
The table under the Attributes heading has all the attributes of that component documented and the values under the Name column are the attributes.

How to get/refer base component attributes in JavaScript?
The attributes of any based component can be a single word or hyphenated words and here is how you can refer to them in JS
Attribute Type | Example | How it's referred in JS? |
Single word |
| As is. All small letters. So it is referred to as |
Hyphenated words (kebab-case) |
| Referred as camelCase. |
🔮 Let's dive in!
Below are 2 examples to illustrate this concept
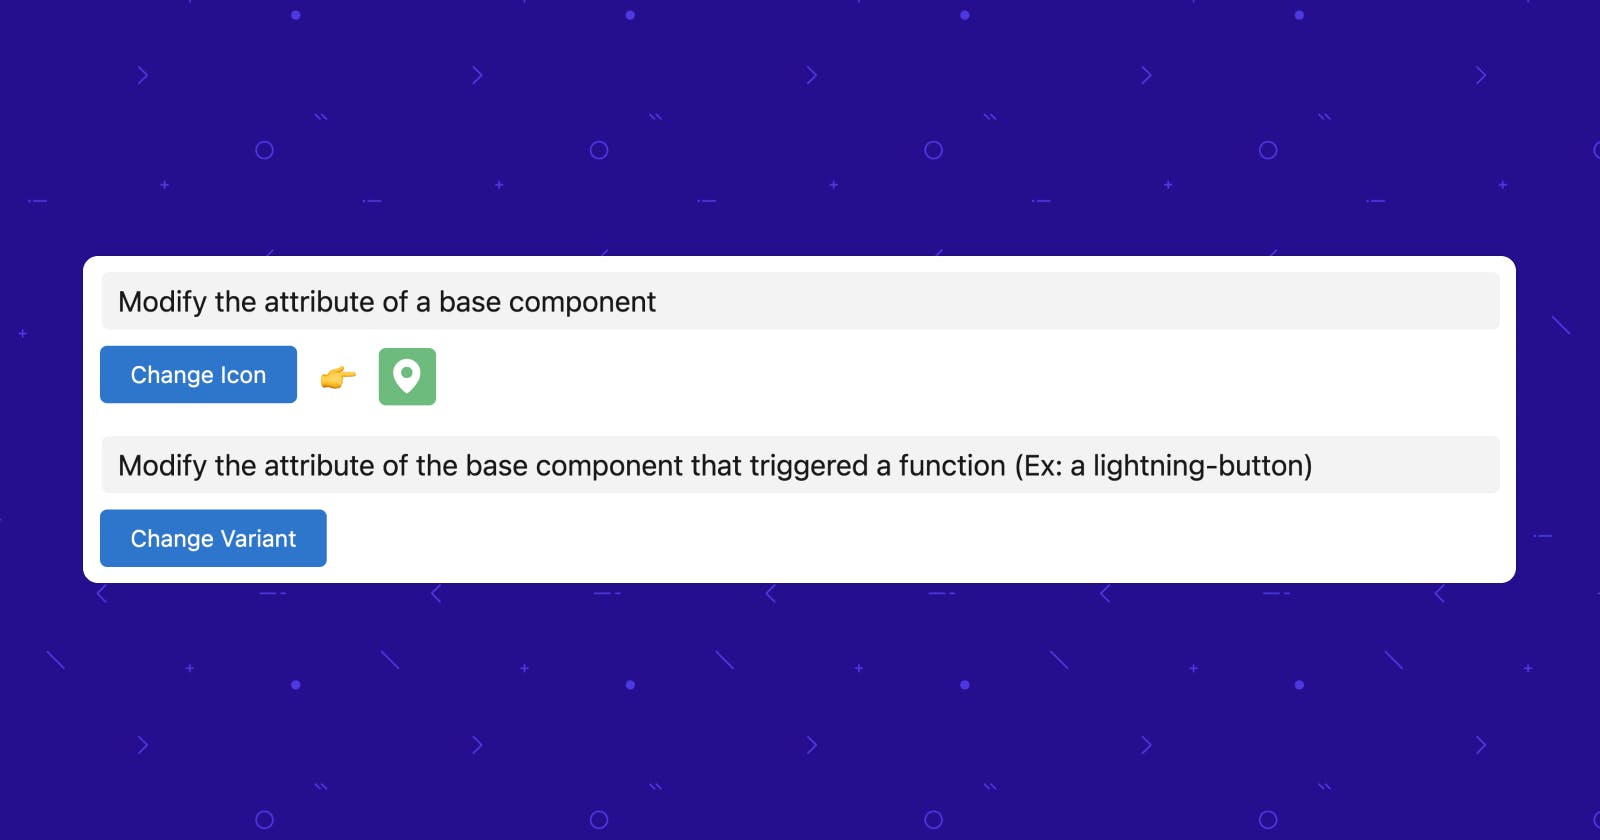
#1 Get & Modify the attribute of a base component
This example shows how to change the icon-name attribute of the lightning-icon base component.

Initially, on load, the icon-name is standard:address and on clicking the button, the attribute is changed to custom:custom11
<template>
  <lightning-button variant="brand" label="Change Icon"
    onclick={changeIcon}>
  </lightning-button>

  <span class="slds-text-heading_medium slds-align-middle slds-m-horizontal_x-small"> 👉 </span>

  <lightning-icon lwc:ref="iconToBeChanged"
    icon-name="standard:address" alternative-text="Address"
    title="Address">
  </lightning-icon>
</template>
import { LightningElement } from 'lwc';
export default class LwcAttrJSDemo extends LightningElement {

  changeIcon() {

    //get the icon element
    let iconElement = this.refs.iconToBeChanged;

    //get the icon-name before change
    //prints - icon-name before change > standard:address
    console.log('icon-name before change >', iconElement.iconName);

    //change the icon
    iconElement.iconName = 'custom:custom11';

    //get the icon-name after change
    //prints - icon-name after change > custom:custom11
    console.log('icon-name after change >', iconElement.iconName);
  }

}
Note: Here in the above code we are also using
lwc:refto get the icon element. This is one of the newest features for LWC in Spring’23. You can also usethis.template.querySelector()in shadow DOM orthis.querySelector()in light DOM to get the desired elements but it is recommended to uselwc:refgoing forward.
#2 Get & Modify the attribute of the base component that triggered a function (Ex: a lightning-button)
This example shows how to change the variant attribute of the lightning-button that was clicked.

Initially, on load, the button’s variant is brand and upon clicking it, the variant is changed to success.
<template>
  <lightning-button variant="brand" label="Change Variant"
    onclick={handleClick}>
  </lightning-button>
</template>
import { LightningElement } from 'lwc';
export default class LwcAttrJSDemo extends LightningElement {

  handleClick(event) {
    //get current triggered base component
    let currentElement = event.currentTarget;

    //get the current variant of the base component before change
    //prints - variant before change > brand
    console.log('variant before change >', currentElement.variant);

    //change or set the variant
    currentElement.variant = 'success';

    //get the variant after change
    //prints - variant after change > success
    console.log('variant after change >', currentElement.variant);
  }

}
🚀 Final Thoughts + Bonus
We just saw the simplest of examples with lightning-button and lightning-icon , go ahead and explore how you can use this approach with other base components in your daily projects.
Need inspiration? I used this exact approach to build a Radio Toggle Button Group with Icons, check it out - https://minerva18.hashnode.dev/radio-toggle-button-group-with-icons-in-lwc
📚 Resources
LWC Base Component Library - https://developer.salesforce.com/docs/component-library
lwc:ref- https://developer.salesforce.com/docs/component-library/documentation/en/lwc/reference_directives

